























How to Get a Cleaner Finish When Stapling Fabric, Foam or Leather
A clean finish matters in upholstery and trim work.
Whether you are fixing fabric to a furniture frame, securing foam, working with leather, or completing vehicle interior work, the staple should hold firmly without damaging the material or leaving a poor finish.
When stapling goes wrong, the result is easy to spot. Torn fabric, crushed foam, visible staple marks, loose material, uneven tension or staples sitting proud can all affect the final look and performance of the job.
In many cases, the issue is not just the stapler. It can be the wrong staple type, incorrect leg length, too much pressure, poor material tension or a tool that is not set up correctly.
In this guide, we’ll look at how to get a cleaner finish when stapling fabric, foam or leather.
1. Choose the Right Staple Type
The staple you use has a major impact on the finish.
For upholstery and trim work, fine wire staples are commonly used because they leave a smaller mark and are less likely to damage delicate materials. They are suitable for many fabric, lining and light upholstery applications where a neat finish is important.
Common upholstery staple series include 71 Series and 80 Series, depending on the tool and application. Both are widely used in upholstery, but the correct choice depends on the stapler being used and the type of material being fixed.
What to check:
- Is the staple compatible with your stapler?
- Is the wire type suitable for the material?
- Is the crown width right for the application?
- Does the staple provide enough hold without being too aggressive?
- Is the finish visible or hidden?
For delicate fabric, a finer staple is usually preferred. For thicker materials or areas under more tension, you may need a stronger staple, but it still needs to suit the tool and material.
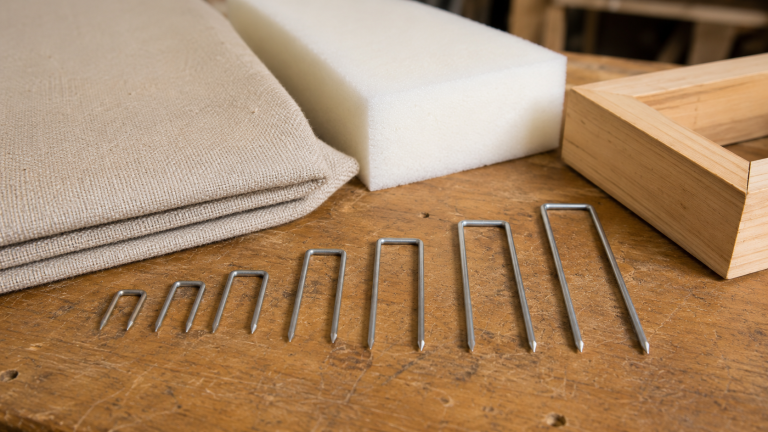
2. Match the Leg Length to the Material
Staple leg length is one of the most common causes of poor results.
If the staple is too short, it may not grip securely into the frame or base material. If it is too long, it may blow through, bend, mark the material or create an uneven finish.
When fixing fabric, foam or leather, consider the total build-up of material, not just the top layer.
This may include:
- Fabric or leather thickness
- Foam thickness
- Wadding or lining
- Timber frame density
- Whether the fixing is hidden or visible
- How much tension is on the material
As a simple rule, the staple needs enough length to pass through the material and grip properly into the base. For upholstery work, this often means testing a few staple lengths on an offcut or hidden area before starting the main job.
3. Set the Correct Air Pressure
For pneumatic upholstery staplers, air pressure makes a big difference.
Too much pressure can drive staples too deep, cut into fabric, mark leather or crush softer materials. Too little pressure can leave staples proud, which may affect the finish or create a weak hold.
The aim is to drive the staple flush and secure without damaging the surface.
Check for:
- Staples sitting too deep
- Fabric tearing around the staple
- Leather marking or denting
- Foam being crushed
- Staples left proud
- Inconsistent firing
Use the lowest pressure that drives the staple cleanly and consistently. If you need to keep increasing pressure to get a good result, the issue may be the staple length, material density, tool setup or tool condition.
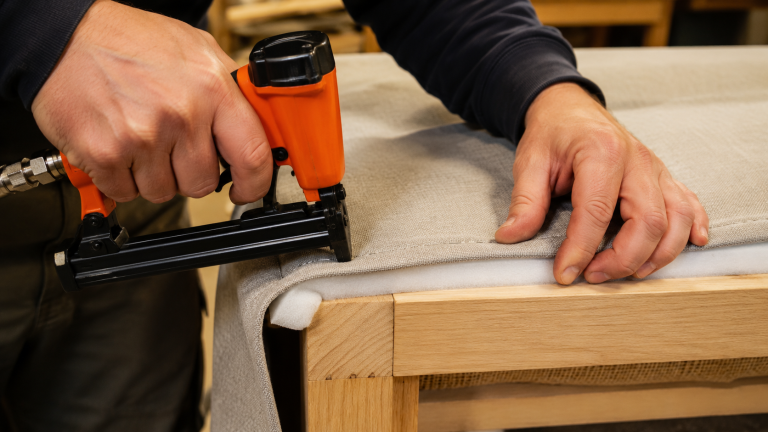
4. Keep the Material Tension Even
A clean staple line is not only about the tool.
Uneven fabric tension can cause wrinkles, puckering, loose areas or visible distortion. This is especially important when working with patterned fabric, leather, vinyl or visible upholstery edges.
Before stapling, position the material properly and keep the tension consistent as you work. Avoid pulling too hard in one area and not enough in another.
Practical tips:
- Start by positioning the material evenly
- Tack key points first before fully stapling
- Work from the centre outwards where appropriate
- Keep tension consistent
- Check the face side regularly
- Avoid bunching material at corners
Good stapling supports a good finish, but material handling is just as important.
5. Be Careful with Leather and Vinyl
Leather and vinyl need extra care because staple marks, dents and tension issues can be more visible.
These materials can also react differently depending on thickness, backing, stretch and surface finish. A setup that works well on fabric may be too aggressive for leather.
When working with leather or vinyl:
- Test first on a hidden area or offcut
- Use the correct staple length
- Reduce air pressure if marks appear
- Avoid overdriving
- Keep the material supported
- Watch for stretching or surface distortion
A clean finish often comes from small adjustments rather than forcing the staple deeper.
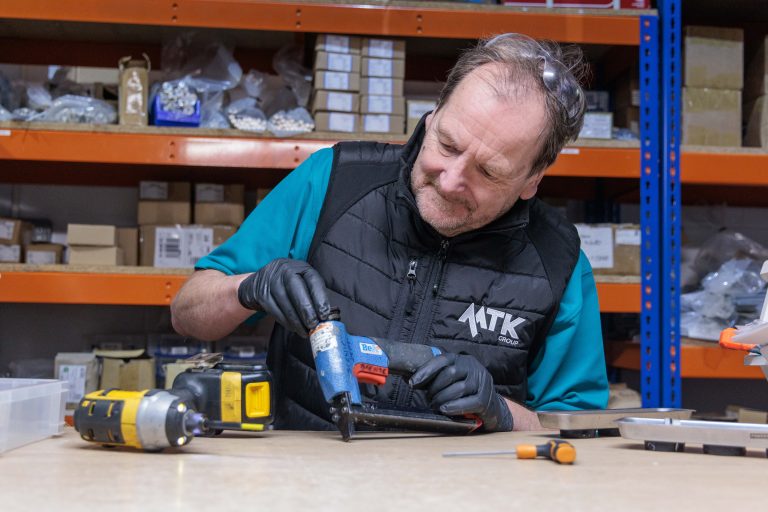
6. Keep the Stapler Clean and Consistent
A dirty or worn stapler can affect the finish.
If the tool is misfiring, double firing, jamming or driving inconsistently, it can damage the material and slow down production. Dust, broken collation material and worn parts can all affect performance over time.
Check:
- Magazine feed
- Nose area
- Air pressure
- Staple compatibility
- Trigger response
- General tool condition
For workshops using staplers daily, regular cleaning and servicing can help keep results consistent.
Common Stapling Mistakes to Avoid
The most common issues usually come down to setup.
Avoid:
- Using staples that are not compatible with the tool
- Choosing leg lengths that are too short or too long
- Using too much air pressure
- Stapling too close to a visible edge
- Pulling fabric unevenly
- Overdriving into leather or vinyl
- Ignoring tool maintenance
- Skipping test runs on offcuts
Taking a few minutes to test the setup can prevent a lot of rework.
Quick Checklist for a Cleaner Finish
Before stapling fabric, foam or leather, ask:
- Is the staple compatible with the tool?
- Is the staple type right for the material?
- Is the leg length suitable?
- Is the air pressure set correctly?
- Is the material tension even?
- Could the staple mark the visible face?
- Have I tested on an offcut?
- Is the stapler feeding and firing consistently?
These checks help improve finish quality and reduce avoidable mistakes.
Final Thoughts
Getting a clean finish when stapling fabric, foam or leather depends on more than simply choosing a stapler.
The best results come from matching the staple to the material, selecting the correct leg length, setting the right air pressure and keeping the material tension even. Tool condition matters too, especially in busy upholstery, furniture or trim workshops where consistency is important.
At The MTK Group, we help trade professionals choose the right staples, staplers and tool setup for upholstery, furniture manufacturing, vehicle trimming and other specialist applications.
If you are unsure which staples or stapler are right for your material, or you are experiencing jams, poor finish or inconsistent firing, our team is here to help.
Get in touch with our team on 0333 8000 345, email [email protected], or DM us on social media @theMTKgroup.