






















How Air Pressure Affects Nailers and Staplers
Air pressure has a bigger effect on nailers and staplers than many people realise.
If the pressure is too low, the tool may not drive the fixing properly. If it is too high, the fixing can be overdriven, the surface can be damaged and the tool may wear faster than it should.
For trade users, this matters. Whether you are working in joinery, upholstery, garden buildings, fencing, packaging, pallets or general production, a pneumatic tool needs the right air setup to fire consistently.
At MTK, we often see tool problems that are not caused by the tool itself. Sometimes, the issue starts with the air supply.
Why Air Pressure Matters
Pneumatic nailers and staplers rely on compressed air to drive the fastener into the material.
The tool, fastener and material all need to work together. Air pressure is what gives the tool the force to fire, but more pressure does not always mean better performance.
Too much pressure can create as many problems as too little.
The aim is not to run the tool at the highest possible PSI. The aim is to use enough pressure to drive the fixing cleanly and consistently, without damaging the material or putting unnecessary strain on the tool.
What Happens When Pressure Is Too Low?
Low air pressure usually shows up quickly.
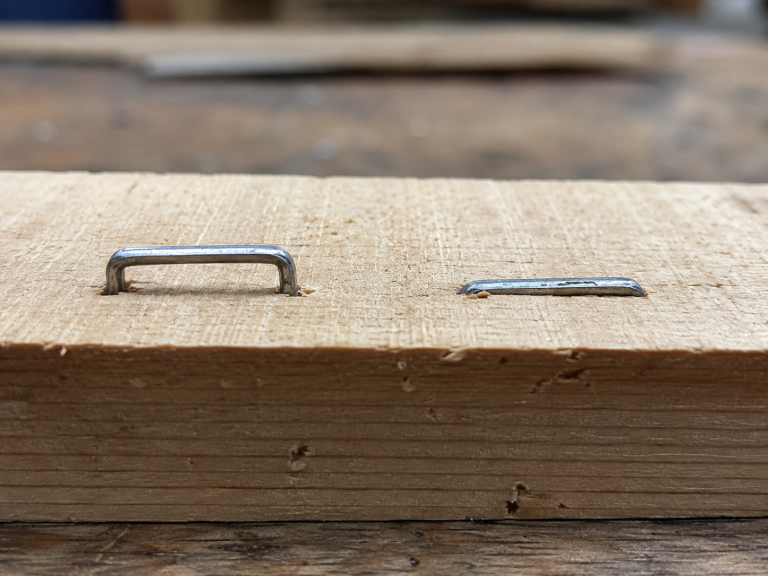
The most common sign is a fixing that does not drive fully into the material. Nails may sit proud. Staples may not close down properly. Brads or pins may stop short of the surface.
In some cases, the tool may sound weak or inconsistent. It may fire one fixing properly, then leave the next one partly driven.
Low pressure can also cause feeding and firing issues, especially if the compressor struggles to keep up with repeated use.
Common signs of low pressure include:
- Fixings sitting proud.
- Weak firing.
- Inconsistent drive depth.
- Staples not seating properly.
- The tool firing but not driving with enough force.
- Performance getting worse during continuous use.
This does not always mean the tool is faulty. It may simply need the air supply checked.
What Happens When Pressure Is Too High?
High pressure can feel like a quick fix, especially if a tool is not driving properly.
But increasing the pressure too much can cause damage.
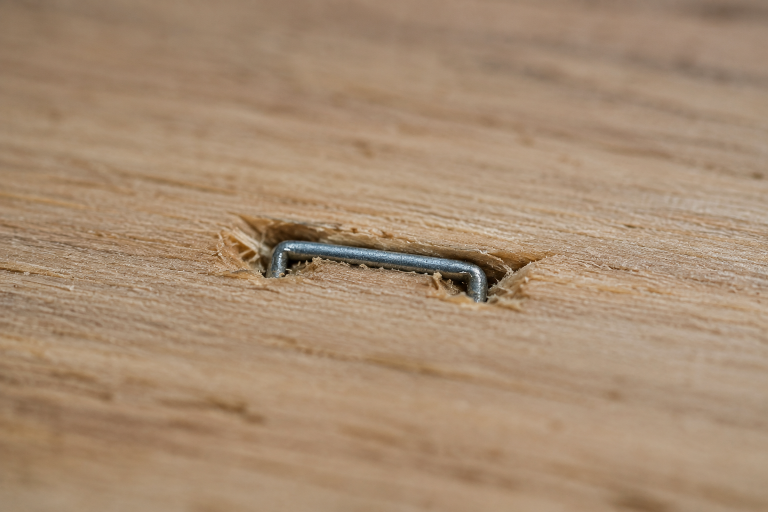
If the tool is running hotter than it needs to, fixings may be driven too deep. This can leave dents, marks or crushed material around the fixing point. On softer timber, MDF, upholstery frames, plastic components or finished surfaces, that can quickly affect the quality of the job.
High pressure can also increase wear inside the tool. Seals, driver blades, bumpers and internal components are put under more strain when the tool is regularly run above what is needed.
Common signs of high pressure include:
- Fixings driven too deep.
- Surface dents or damage.
- Staples cutting into the material.
- The tool feeling harsh when firing.
- Increased recoil.
- More wear on internal parts.
The right pressure should give a clean drive, not an aggressive one.
More PSI Is Not Always Better
One of the most common mistakes with pneumatic tools is assuming that more air pressure means more reliability.
In reality, higher pressure often hides the real problem.
If a nailer or stapler only works when the pressure is turned up too high, something else may need checking. The fasteners may not be correct for the tool. The material may be too dense for that fixing. The tool may need cleaning or servicing. The driver blade or seals may be worn.
Increasing the pressure can sometimes force the tool to keep working for a while, but it may also make the underlying issue worse.
A better approach is to start with the manufacturer’s recommended pressure range, then adjust carefully based on the material and fixing.
Start Low and Adjust Gradually
As a general rule, it is better to use the lowest air pressure that gives a clean, reliable drive.
Many pneumatic nailers and staplers operate somewhere around the 60–90 PSI range, but the correct setting depends on the tool, fastener and application. Always check the tool manufacturer’s guidance first.
A good setup process is simple:
- Start within the recommended pressure range.
- Test fire into the actual material.
- Check the drive depth.
- Increase pressure gradually if needed.
- Stop once the fixing is seating correctly.
- Avoid turning the pressure up higher than necessary.
This helps protect the tool, reduce marking and improve consistency across the job.
The Material Makes a Difference
The same air pressure will not perform the same way in every material.
Softwood, hardwood, MDF, plywood, chipboard, pallet timber, fencing timber, upholstery frames and packaging materials all respond differently.
A pressure setting that works well in softwood may not be enough for hardwood. A setting that works in pallet timber may be too aggressive for MDF or visible joinery. Upholstery work may need a cleaner, more controlled drive to avoid damaging fabric, foam or leather.
This is why test firing is important.
Do not set the pressure based only on the tool. Set it based on the tool, the fastener and the material being fixed.
Fastener Choice Also Affects Pressure
Air pressure is only part of the setup.
The fastener itself also affects how the tool performs. A longer nail, thicker gauge, annular ring shank, wider crown staple or heavier wire staple may need more driving force than a lighter fixing.
If the fastener is wrong for the tool or material, adjusting the pressure may not solve the problem.
For example, if a fixing is too long, too heavy or unsuitable for the material, it may still bend, sit proud or cause splitting even with more pressure. If the fastener is badly collated or not compatible with the tool, air pressure will not stop jams and misfeeds.
This is why compatibility matters.
A well-matched fastener should feed smoothly, drive cleanly and hold properly without forcing the tool to work harder than necessary.
Compressor Supply Matters Too
Sometimes the pressure setting looks right, but the tool still performs poorly.
This can happen when the compressor cannot keep up with the tool’s air demand.
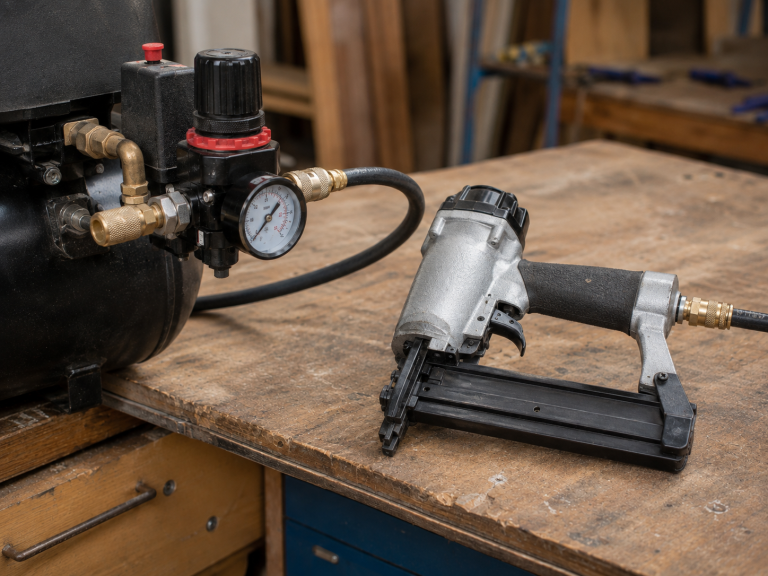
In a busy workshop or production environment, a tool may be fired repeatedly over a short period. If the compressor, hose or fittings cannot supply enough air consistently, pressure can drop during use.
This can cause the first few fixings to drive properly, followed by weaker shots as the air supply falls behind.
It is worth checking:
- Compressor capacity.
- Regulator setting.
- Air hose length and condition.
- Fittings and couplings.
- Moisture in the airline.
- Whether multiple tools are running from the same supply.
A good air setup is not just about the number on the regulator. It is about consistent delivery while the tool is being used.
Do Not Ignore Repeated Pressure Problems
If you are constantly adjusting the pressure to get a tool to fire properly, that usually means something needs checking.
The issue may be with the air supply, but it could also be the fasteners, tool condition or setup.
Regular problems can include:
- The tool only works at very high pressure.
- Fixings are inconsistent even after adjustment.
- The tool loses power during use.
- The same tool performs differently with different fasteners.
- The tool starts marking material more than usual.
- Misfires or jams continue after pressure changes.
In these cases, it is better to check the full setup rather than keep increasing pressure.
Quick Air Pressure Checklist
Before assuming the tool is faulty, check the basics:
- Is the pressure within the manufacturer’s recommended range?
- Is the compressor keeping up with the tool?
- Are the hose and fittings in good condition?
- Is there moisture in the airline?
- Are the fasteners correct for the tool?
- Are you testing on the actual material?
- Is the tool clean and properly maintained?
- Are you using the lowest pressure that drives the fixing correctly?
These checks can prevent unnecessary downtime and help extend the life of the tool.
Final Thoughts
Air pressure affects how nailers and staplers drive, how clean the finish looks and how much strain is placed on the tool.
Too little pressure can cause weak firing and proud fixings. Too much pressure can damage the material and increase wear. The right setting should give a clean, consistent drive without forcing the tool to work harder than necessary.
For trade users, the best results come from setting the tool up properly, using compatible fasteners and checking the air supply before assuming the tool is at fault.
At The MTK Group, we help customers get the right setup for their tools, fasteners and applications. Whether you are dealing with misfires, inconsistent drive depth, jams or tool wear, our team can help you check the cause and find the right solution.
Get in touch with our team on 0333 8000 345, email [email protected], or DM us on social media @theMTKgroup.